How to Fix an Uneven, Soggy Lawn for Good
Uneven, soggy lawn driving you crazy? Learn the real causes plus practical drainage and regrading options to get a smooth, healthy yard that actually dries out.
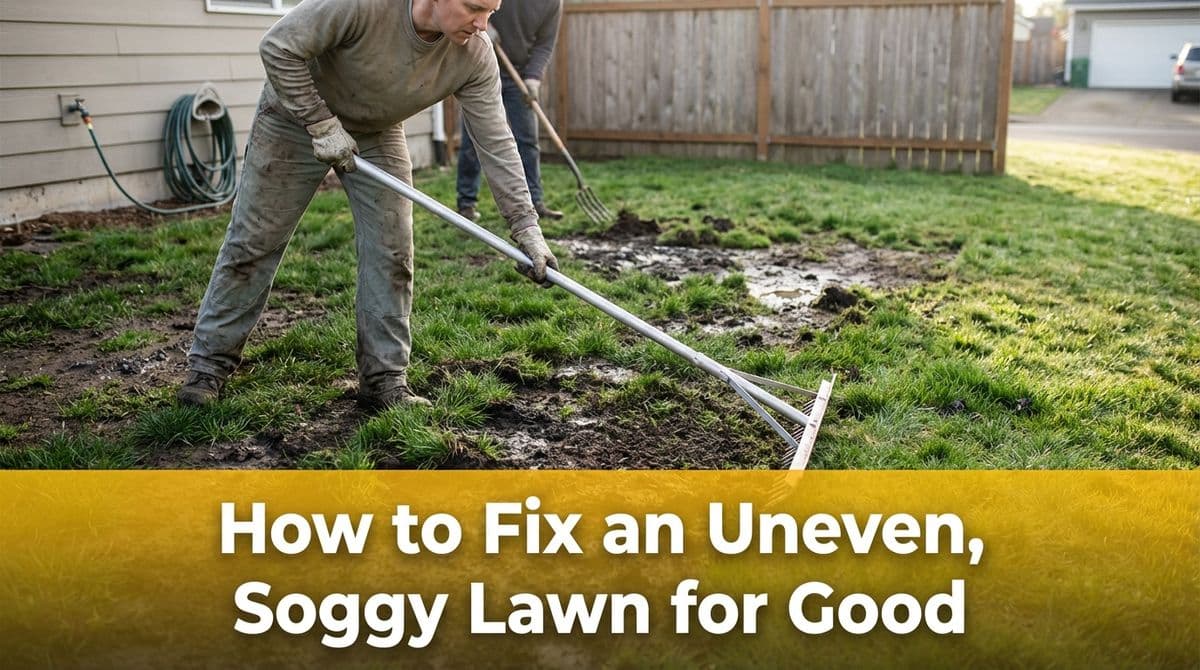
When Your Yard Is Bumpy, Soggy, and Bare in Spots
We recently got a call from a homeowner — let’s call him Eric — who was frustrated with his lawn. Some areas were dry and struggling, other spots stayed wet after every rain, and the whole yard felt bumpy and uneven underfoot.
Eric told us he’d put down grass seed the year before, but after a few heavy storms, water was pooling in low spots. Those soggy areas were stressing the grass, and the high spots were drying out. He wanted to know: “Can you regrade the yard and fix the drainage so the grass will actually grow evenly?”
We see this kind of situation all the time. Uneven, soggy lawns are usually a mix of grading, soil, and drainage issues — but the good news is, they are fixable. In this post, we’ll walk you through what we explained to Eric, so you can understand what’s going on in your own yard and what your options are.
Why Your Lawn Is Uneven and Soggy in the First Place
Before anyone starts scraping or regrading a yard, we always look at the root causes. If you just throw down more soil or seed without fixing the underlying issues, the problems will come right back.
Common causes of an uneven, wet lawn
Here are the issues we most often find when we walk a property like Eric’s:
- Poor grading: The yard doesn’t slope away from the house or it has random low spots, so water naturally collects and sits.
- Compacted soil: Heavy foot traffic, construction, or parking equipment on the lawn compresses the soil so water can’t soak in.
- Clay-heavy soil: Dense clay drains slowly, turning low areas into mini ponds after rain.
- Settling after construction: Fill dirt around new homes often settles unevenly in the first few years, leaving dips and bumps.
- DIY topsoil or fill: Bringing in random soil or patching low spots without proper blending can create uneven layers that hold water.
In Eric’s case, he’d recently done some seeding and minor leveling himself. After a season of rain and settling, those patched areas ended up lower than the surrounding lawn, which is why water was hanging around there.
Step One: Diagnose Your Lawn’s Drainage Problems
When we visit a property, we always start with a simple inspection that you can partly do on your own.
What to look for after a rain
Right after a decent rainfall, walk the yard and note:
- Where water pools and how long it sits (more than 24 hours is a red flag).
- How the ground feels underfoot — soft and spongy versus rock-hard and compacted.
- Grass health patterns: yellowing, thin, or bare spots in low, wet areas or on high, dry mounds.
- Downspout discharge: whether your gutters are dumping water right next to the foundation or onto the lawn.
We did this walkthrough with Eric and quickly found several low “bowls” where water collected, plus a couple of high ridges that dried out quickly. His downspouts were also sending a lot of roof water into one side of the yard.
Drainage Solutions Before (or Along With) Regrading
We explained to Eric that regrading alone isn’t always enough. Sometimes we need to move the water as well as reshape the soil.
Simple drainage fixes
These are the first things we look at because they’re relatively affordable and can make a big difference:
- Downspout extensions to carry roof water 6–10 feet away from the house and main lawn areas.
- Soil amendment and aeration to break up compacted or clay soils so they absorb water better.
- Shallow swales (gentle, grassy channels) to guide water toward a safe outlet instead of letting it sit in the middle of the yard.
More involved drainage options
For lawns with serious pooling, we may recommend:
- French drains: Gravel-filled trenches with perforated pipe that collect water from soggy areas and move it downhill.
- Catch basins: Inlets installed in low spots, tied into drain pipe to move water away.
- Dry wells or rain gardens: Designated spots to capture and slowly infiltrate or hold excess runoff.
For Eric, the plan was a combination: adjust his downspouts, add a shallow swale, and regrade the worst low spots to tie everything together.
How Regrading Actually Works
Many homeowners tell us what Eric did: “I just want to scrape the yard flat.” We get it, but there’s a bit more to it if you want a healthy lawn and protect your home at the same time.
Our basic regrading process
Here’s how we typically handle an uneven lawn:
- Set the target slope: We aim for about 2–3% slope away from the house (roughly 2–3 inches of drop per 10 feet).
- Strip or protect existing turf: In some cases we remove existing grass; in others we only work in problem zones.
- Cut high spots: We shave down mounded areas and reuse that soil to fill nearby low spots when the soil quality allows.
- Fill low areas: We bring in quality topsoil if needed, blending it with existing soil to avoid sharp layers that trap water.
- Fine grading: We rake and smooth by hand to remove minor bumps and provide a level surface for new seed or sod.
Once the grade is right and any drainage components are in place, we’re ready for the new lawn.
Reseeding or Sodding After Regrading
Eric had already tried seeding once, so he was worried about wasting money on grass that might fail again. We walked through his options and the steps we recommend to give new turf the best chance.
Key steps for a successful new lawn
- Choose the right grass type for your sun/shade mix and climate (for many local yards, that’s a blend of cool-season grasses).
- Prepare the seedbed by raking to create a loose top 1–2 inches of soil so roots can establish.
- Seed at the correct rate or lay sod with tight seams so you don’t get patchy coverage.
- Water consistently: keep the top layer lightly moist (not saturated) until seed germinates and roots grow in.
The big difference this time for Eric: we’re not asking the grass to grow in a swamp on one side and on a dry hilltop on the other. With proper grading and drainage, the lawn has a fair chance to fill in evenly.
When to Call a Professional vs. DIY
We’re always honest with homeowners: some minor lawn leveling can be a DIY weekend project, but full-yard regrading and drainage often isn’t.
DIY might be enough if you have just a couple of shallow low spots, no standing water for days, and easy access for wheelbarrows and hand tools.
Call in a pro when you see extensive pooling, water near the foundation, large areas of uneven ground, or you’re not sure how to set a proper slope. The equipment, soil calculations, and drainage code requirements can get complicated quickly.
If your yard feels like Eric’s — bumpy, soggy, and stubborn no matter how much seed you throw at it — we’re happy to come out, walk the property with you, and put together a plan that fits your budget and long-term goals for the lawn.